
Welcome to the third chapter of our guide to teeth whitening where we take you through its entire procedure step by step. In this guide, we discuss every detail of the teeth whitening procedures, from the office whitening, to the home whitening trays, and over-the-counter tooth whitening products such as whitening pens and strips.
Teeth whitening procedure is performed under the supervision of a qualified dentist. The entire procedure may take 40 minutes to an hour. After picking the right shade of white for your teeth, the dentist will use protecting gear to protect your mouth and gums and start the whitening process with whitening gel and ultraviolet light to activate it. It is a more reliable procedure according to dentists because it gives more visible and durable results. Moreover, the process is short, simple, and practically pain-free.
However, there are also alternative ways also available to whiten your teeth. They include home whitening trays, whitening strips, and pens. Their procedure is simple and short as well that one can easily perform at home but the results are not reliable and long-lasting. There is a lot of after-procedure maintenance required for the results to show. It may take weeks or even months for results to be visible.
Teeth whitening dentist procedure: the best teeth whitening procedure?
The teeth whitening dentist procedure is considered the best one because it allows a professional and doctor to handle the whitening process. Also, you will need teeth whitening so you will get double benefits, clean teeth, and gums, and a white pearly brighter smile.
Office procedures are a simple and short cosmetic procedures for whiter teeth and a revitalized smile. Chairside or office teeth bleaching requires your presence in a clinic and the whole process only takes 40 minutes to a maximum of an hour.
Here are the steps of the teeth whitening dentist procedure:
- Step 1: Dental exam
- Step 2: Deep cleaning
- Step 3: Safety measures preparation
- Step 4: Application of whitener
- Step 5: Activation of the paste
- Step 6: Fluoride application (optional)
- Step 7: Post-treatment evaluation and instructions
Step 1: Dental exam
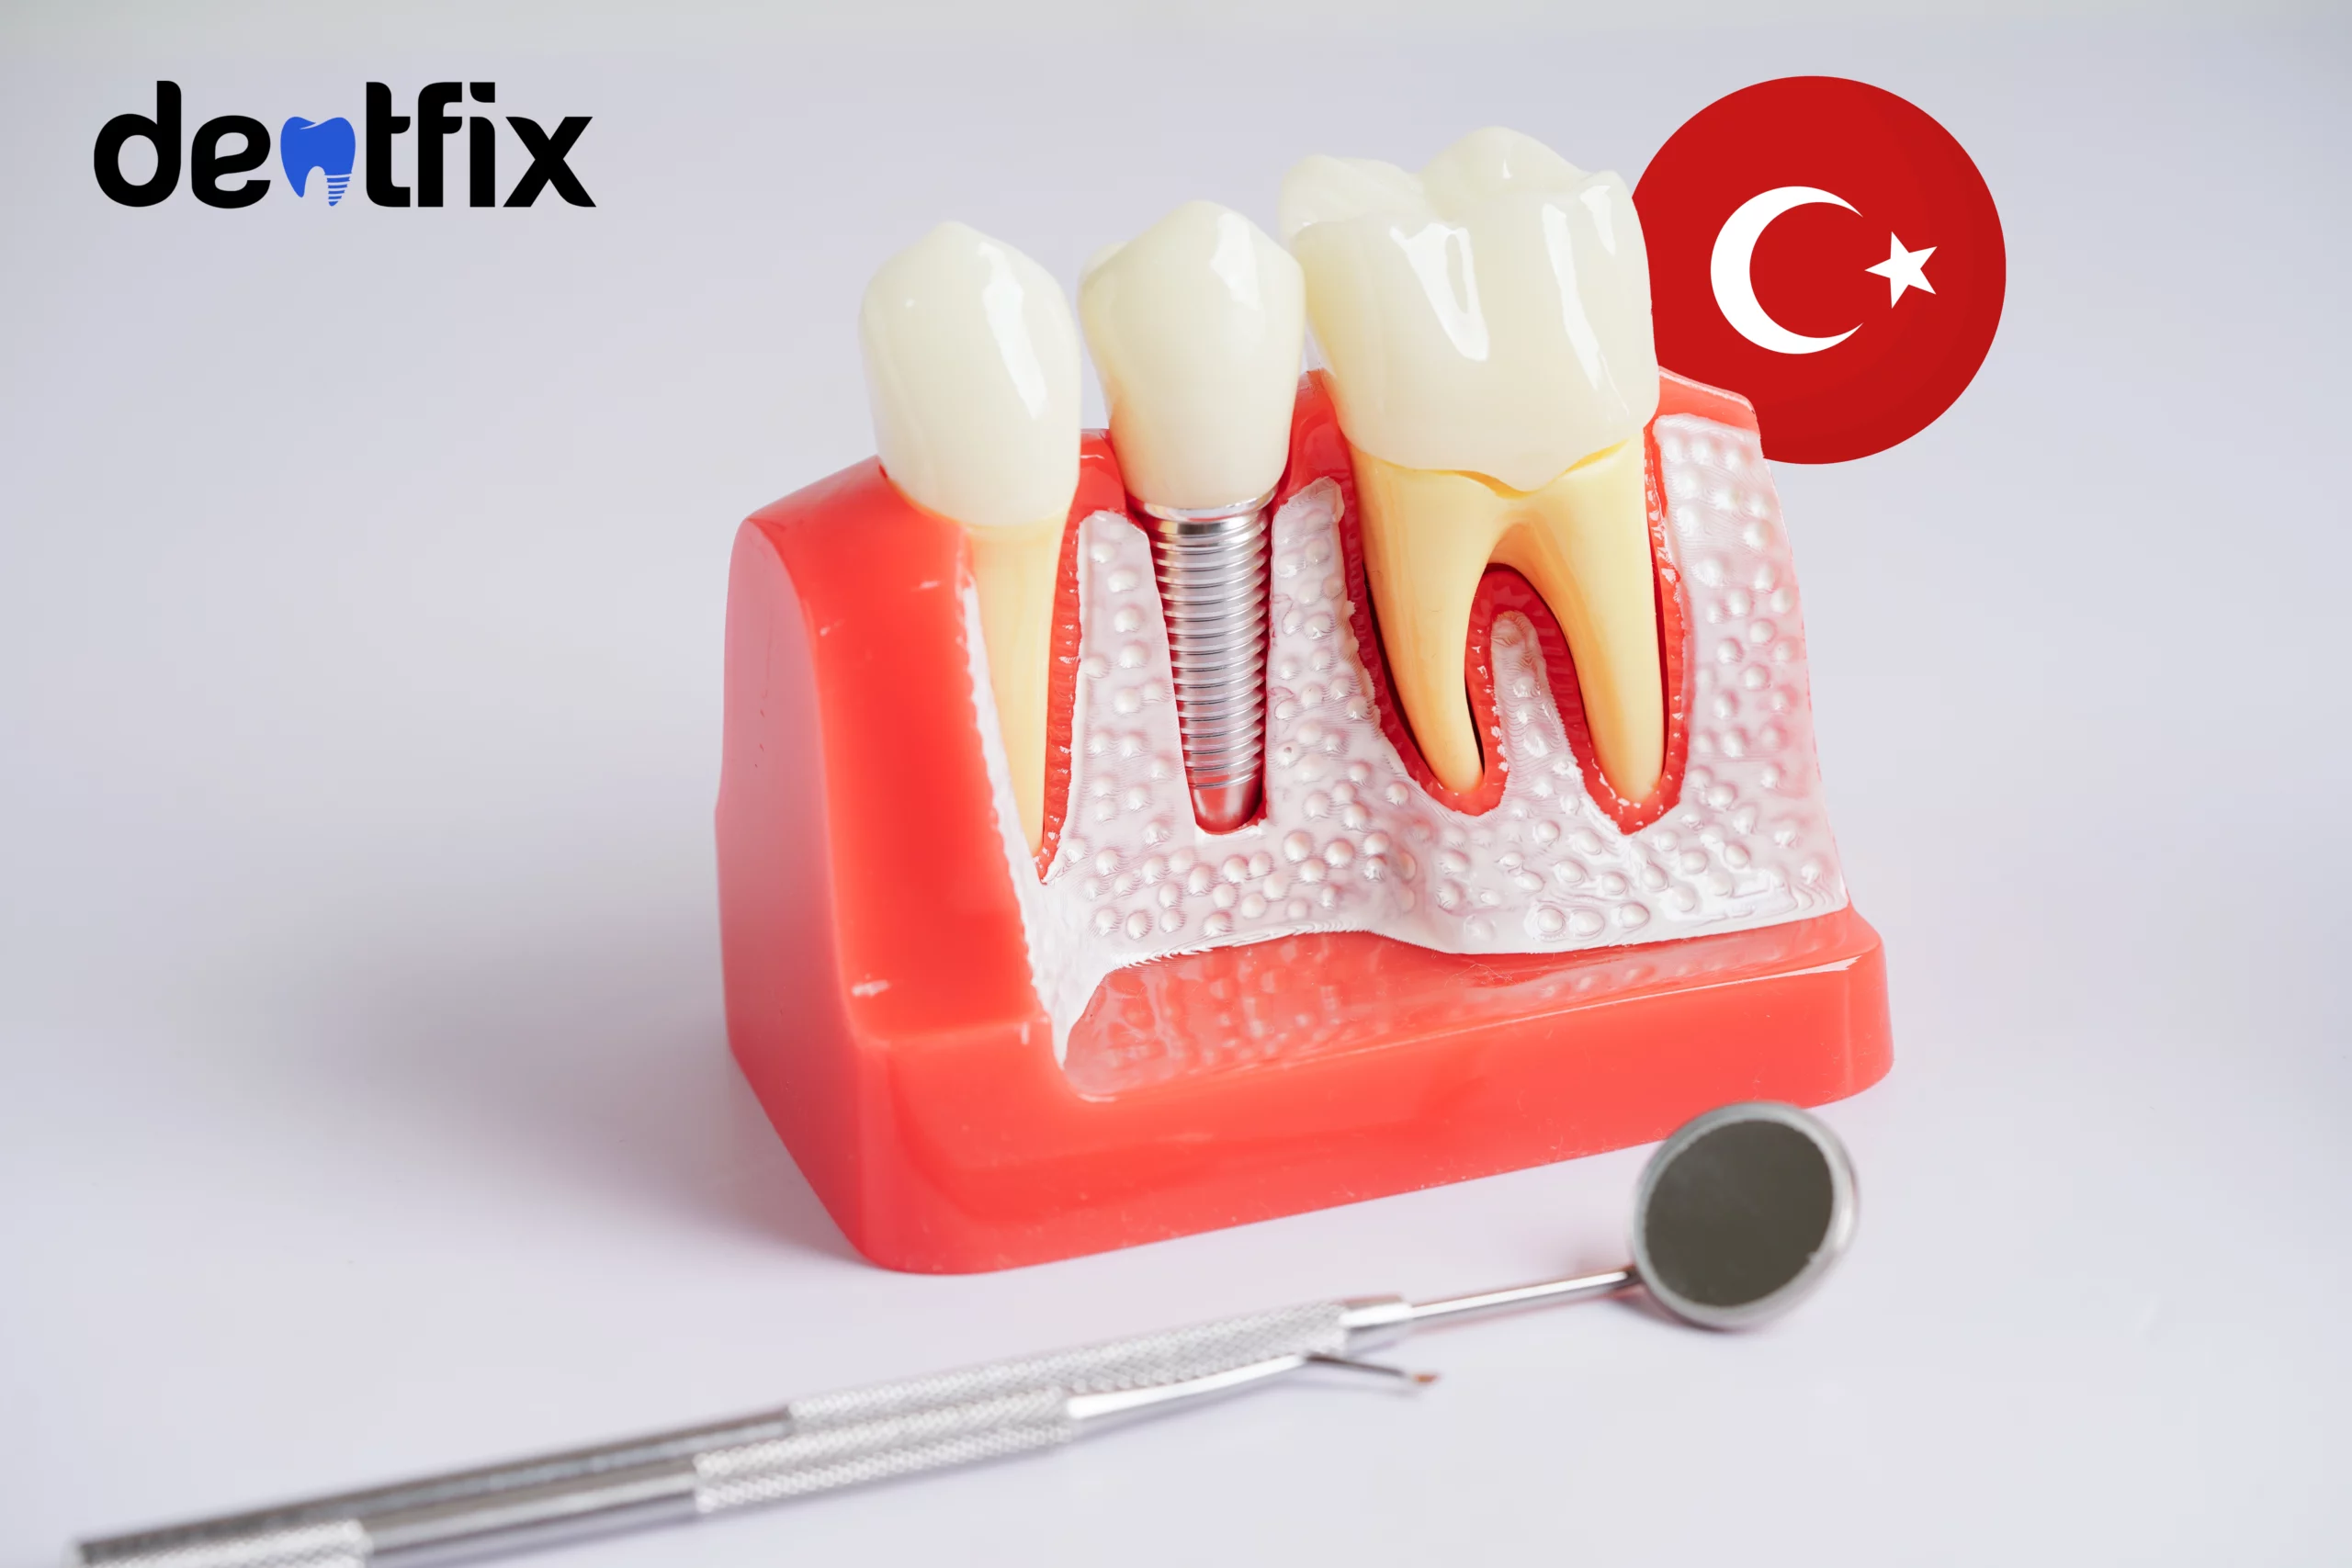
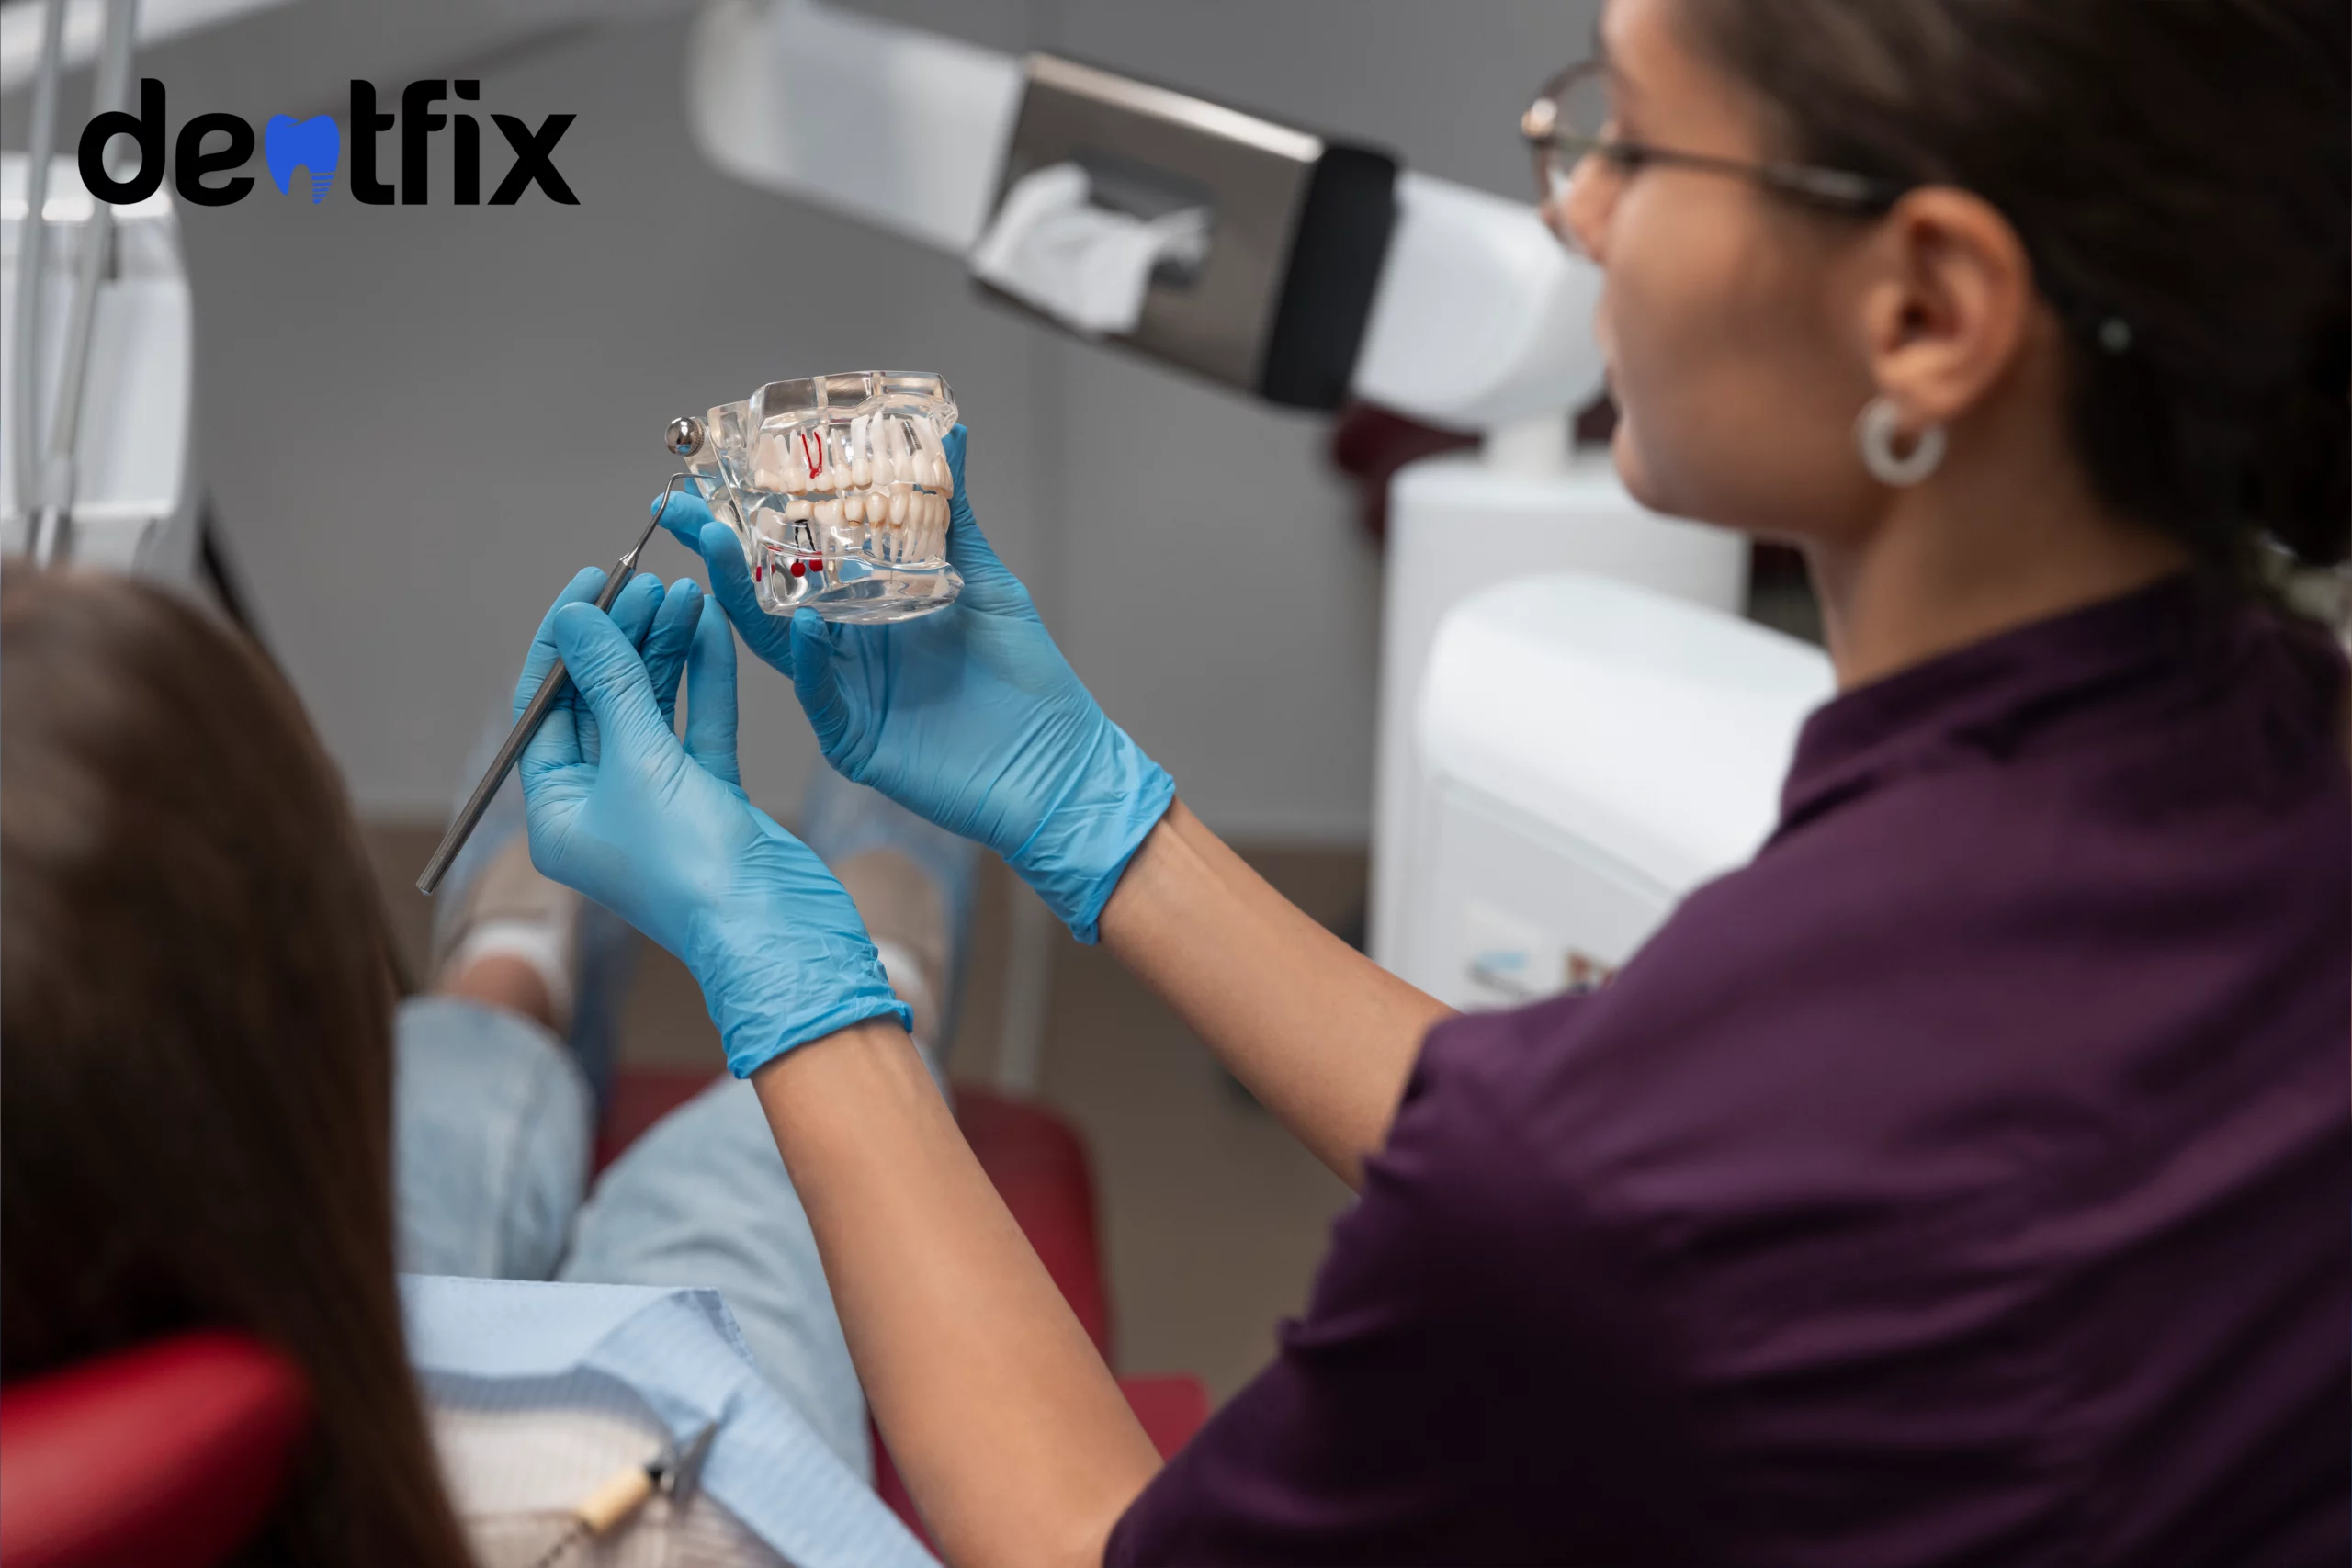
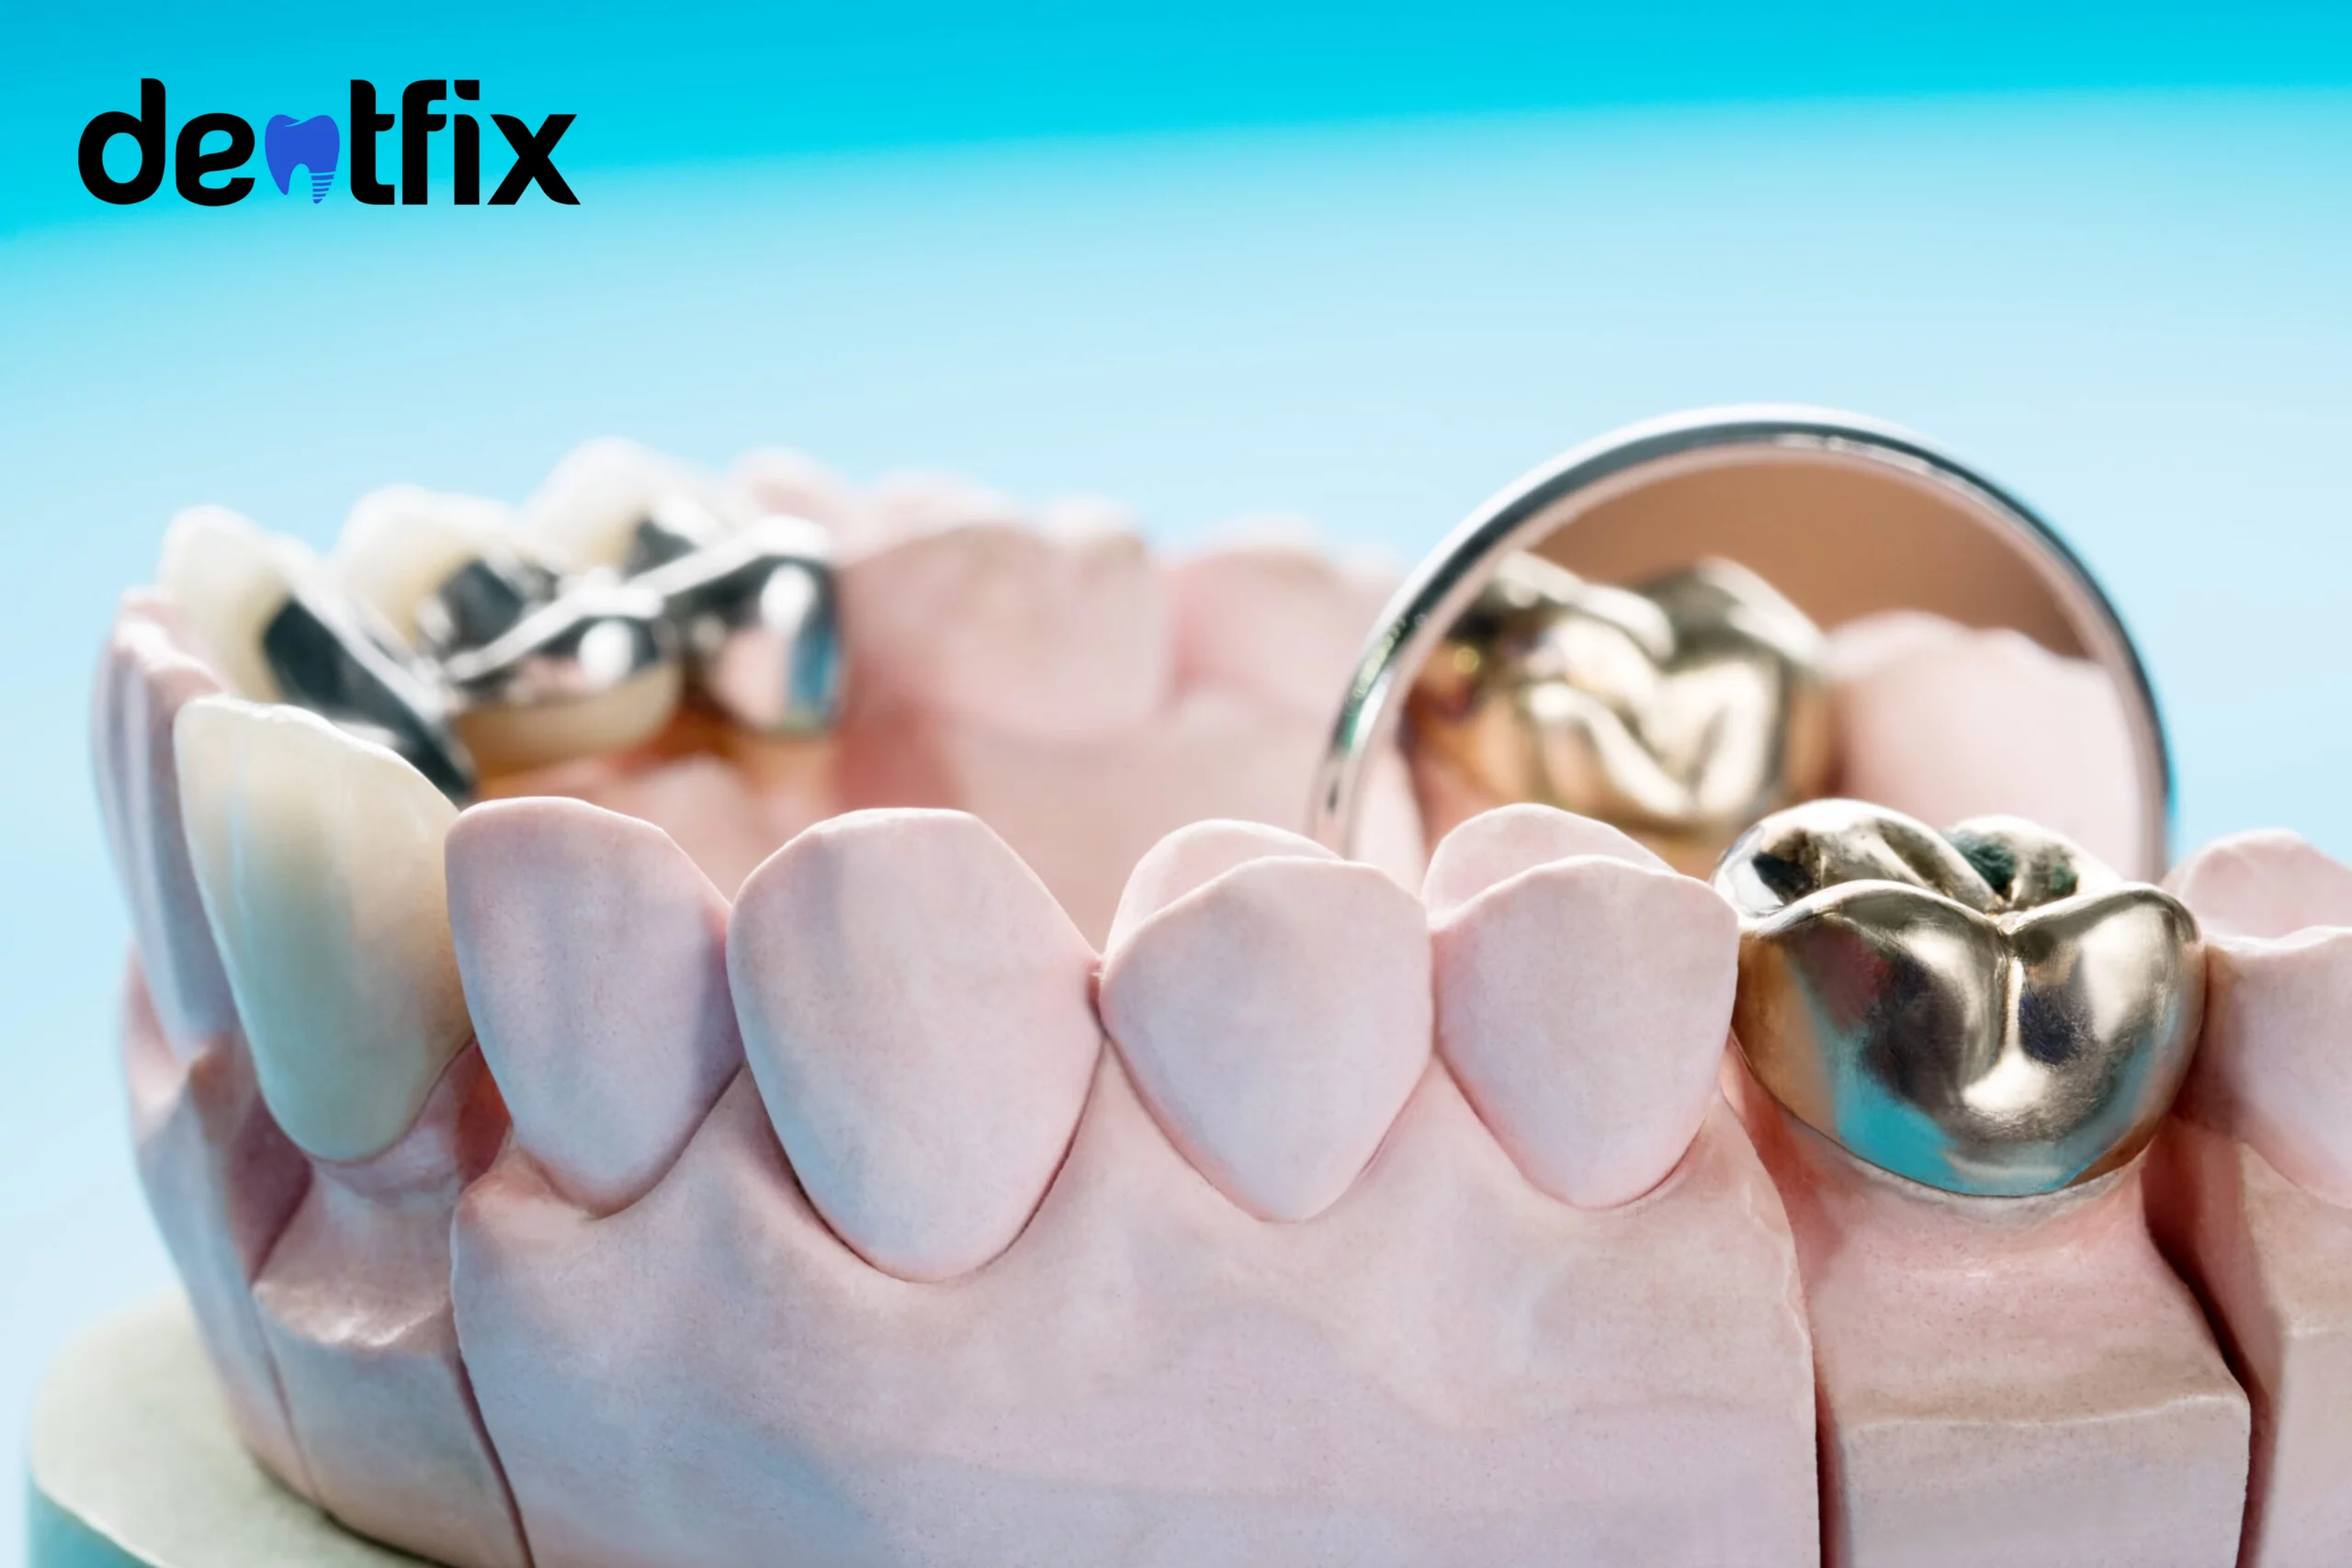
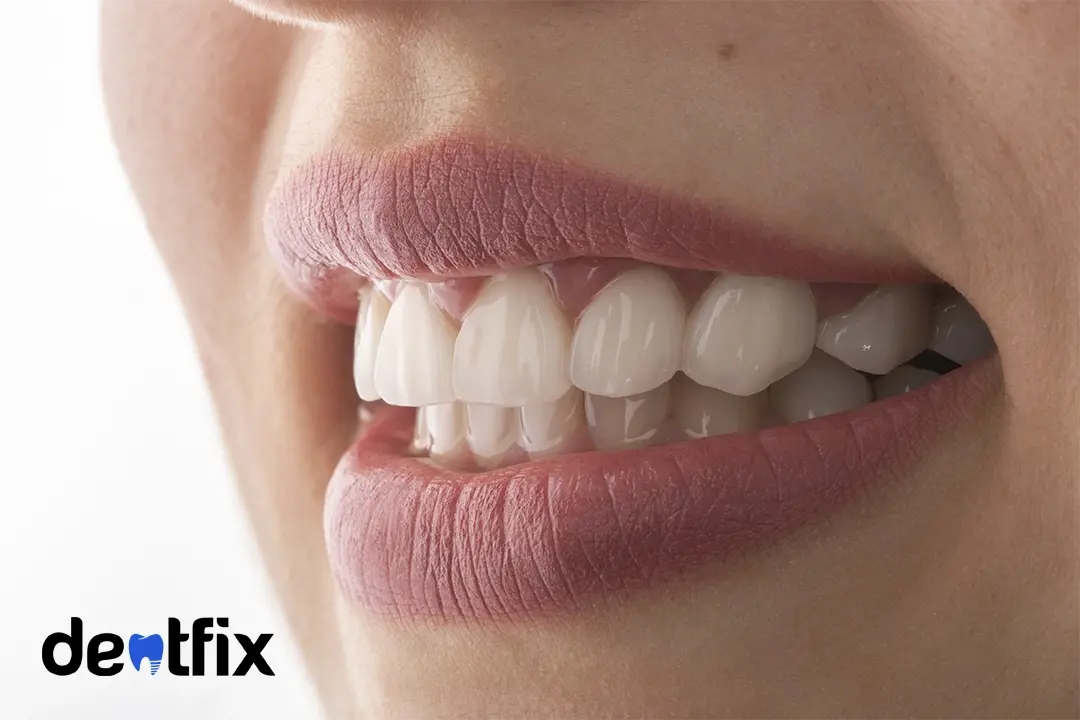
Before any dental treatment, the dentist needs to examine your teeth. The dentist evaluates your dental issues at length and takes into consideration the intensity of these issues. The main factor dentists focus on is your overall oral health and whether you have crowns, implants, or veneers. The issue if you have crowns, implants, or the like is that there can be color unevenness after the treatment.
At this step, the dentist and patients also get the opportunity to discuss everything before the procedure so that there is no confusion later on. At this point, your dentist also shares a shade card or a shade palette with you. Together you both choose the shade that suits you according to your original shade, skin tone, lip shape as well as the shape of your teeth. Most clinics have a standard shade of white but it can be adjusted as per the patient’s demands during the gel activation stage by controlling the intensity of the light. If you don’t have any prosthetics, you can go as light as you’d like.
Step 2: Deep cleaning
The next step in the bleaching process is a deep dental cleaning session before the treatment. Most dental clinics recommend this step because it helps to get rid of deep-seated bacterial build-up and plaque. Moreover, it maximizes the success of whitening because the gel or agent absorbs better into the teeth after the removal of debris. Therefore, in a nutshell, we can say that deep cleaning supplements the process of whitening and helps one achieve the desired results. The most ideal results are achieved with the combination of these two treatments and your smile improves drastically.
Step 3: Safety measures preparation
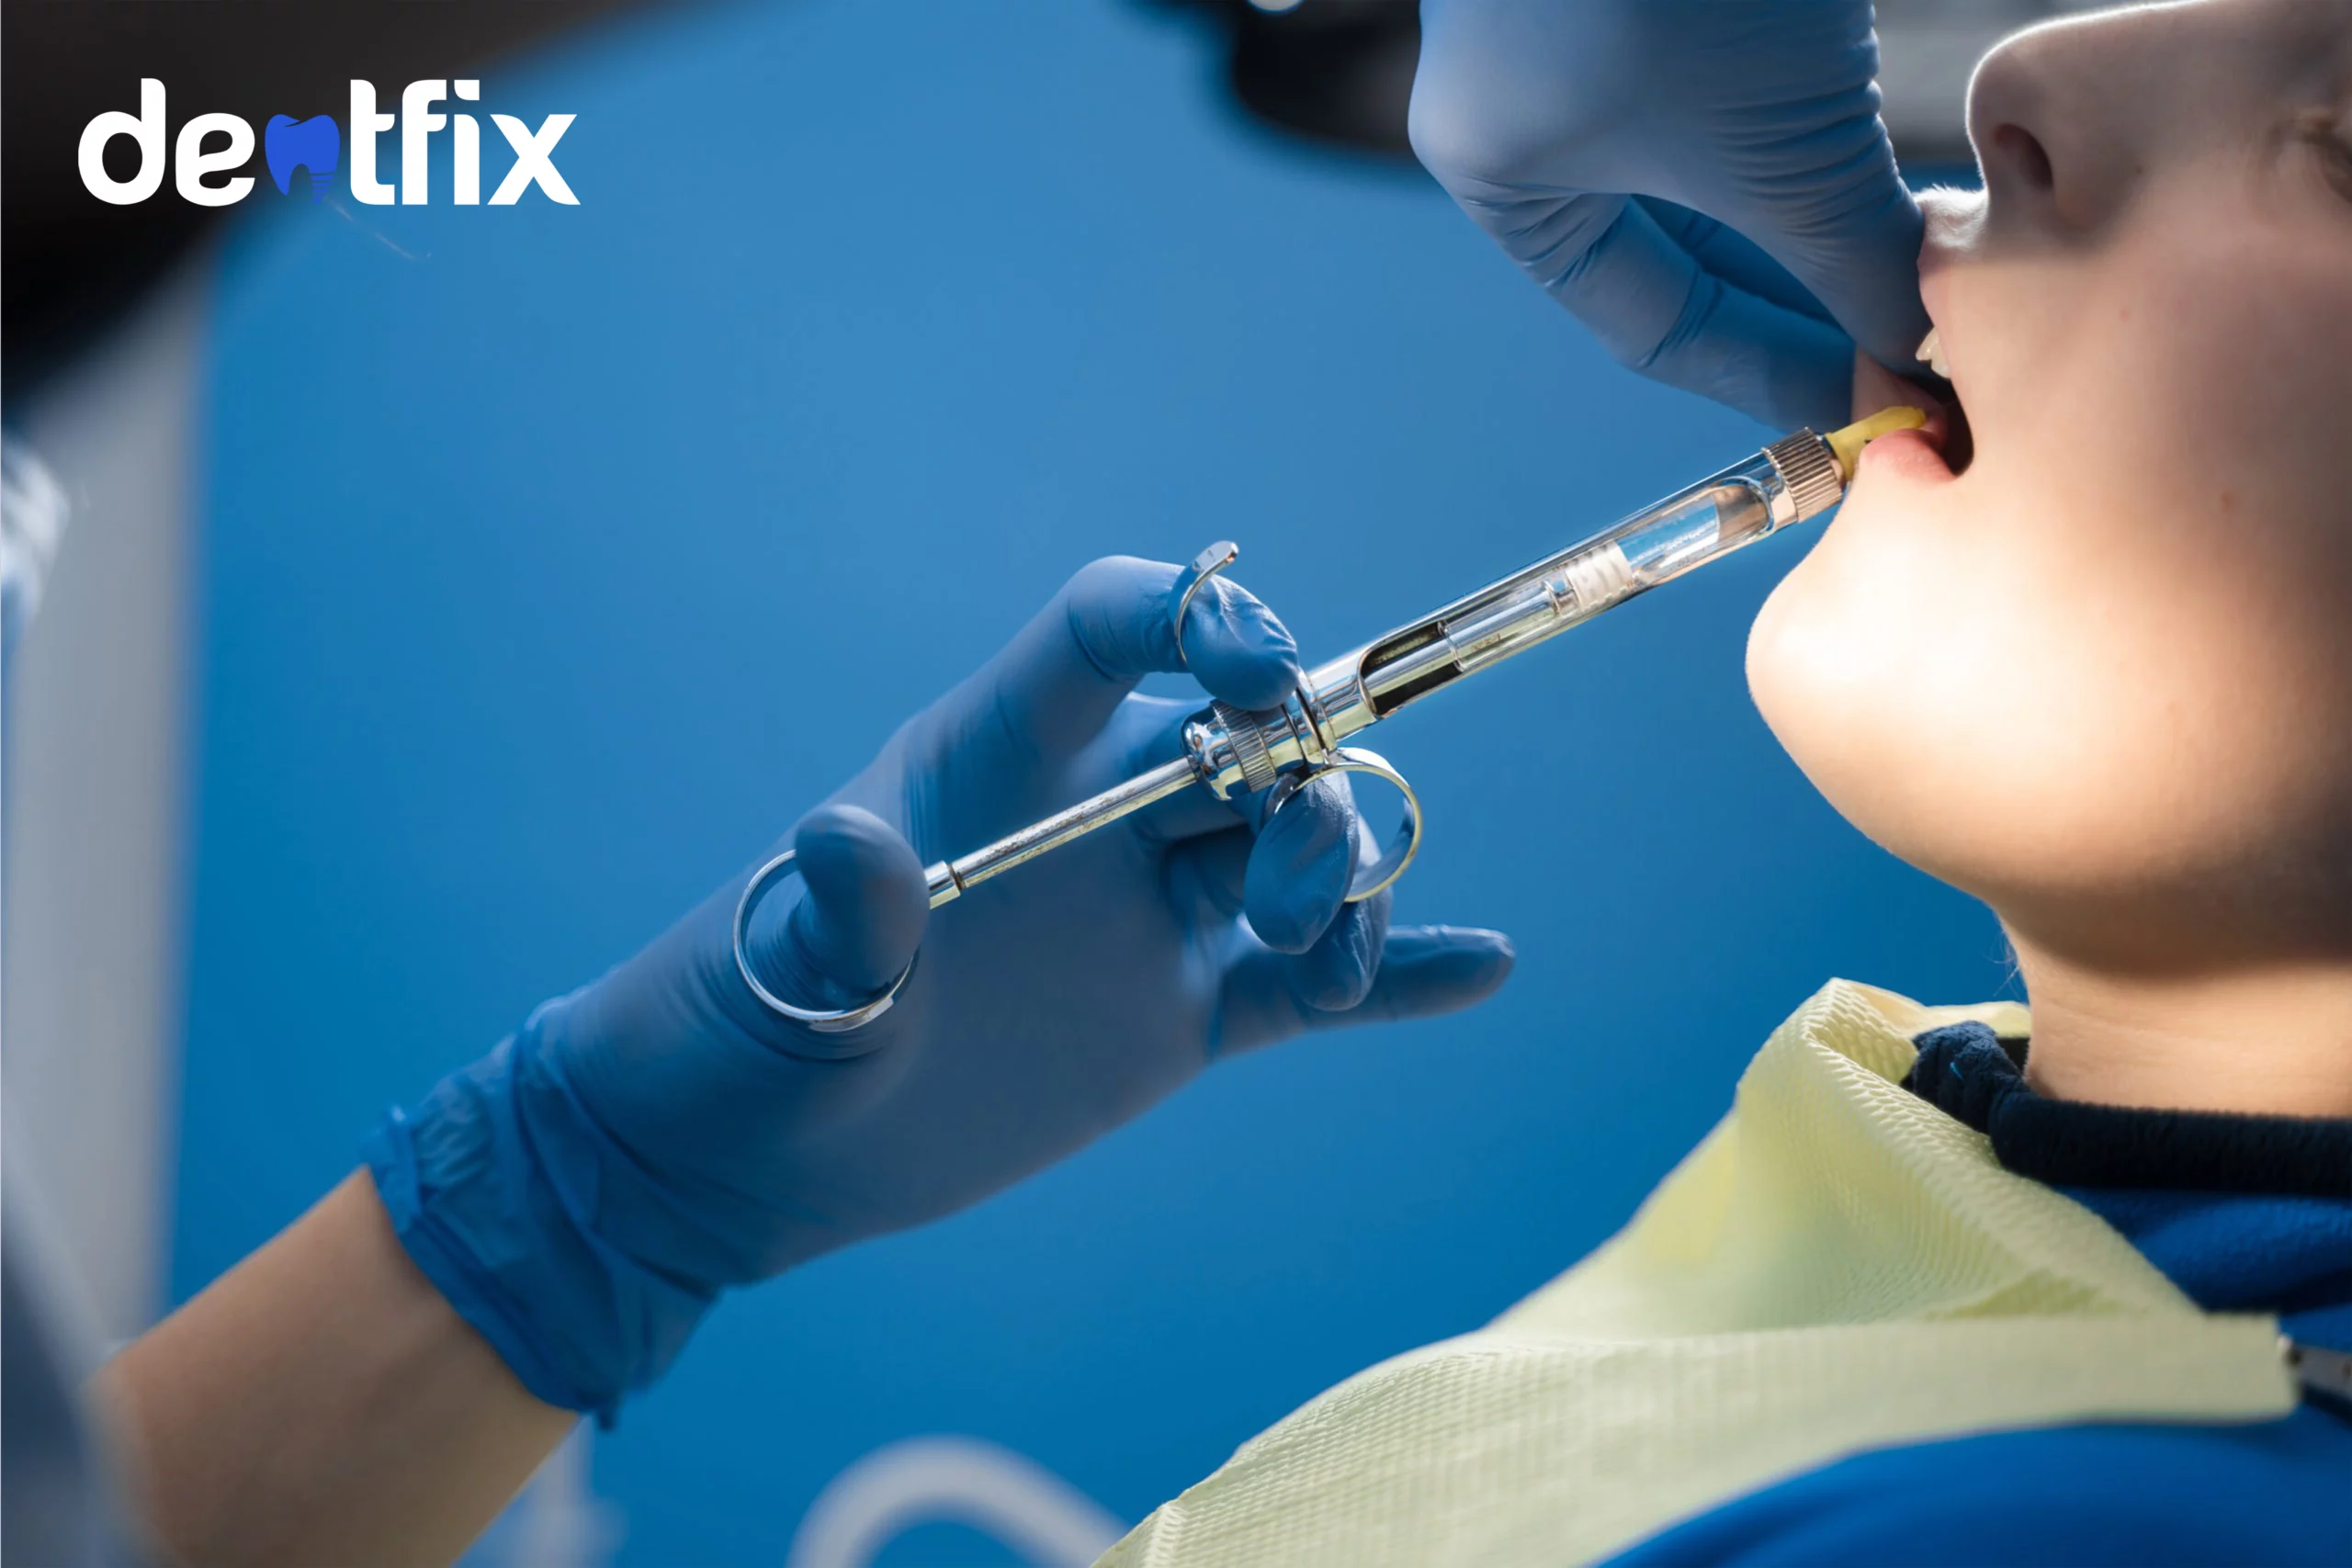
Once the cleaning process is over, the dentist proceeds to prepare for the whitening treatment. Precautionary measures are extremely important at this part of this process because of the chemical agents used. Hydrogen peroxide and carbamide peroxide are active ingredients in the whitening process. If the gums, cheeks, or roof of the mouth are exposed to a higher dosage of these chemicals, it can lead to serious inflammation and irritation.
According to clinical studies, the concentrations of Hydrogen peroxide must not be more than 40% in clinical whitening. For maximum protection of gums and mouth, dentists use retractors or rubber dams to pull back the lip area. A liquid dam serves the purpose of protecting soft tissues and isolating teeth and gums. It is made of resin material and has a soft rubber-like consistency that’s easy to remove once the procedure is complete.
As a necessary safety precaution, dentists go all the way to protect the mouth. To avoid any mishaps, we recommend discussing these details with your dentist before going ahead with the treatment. Having some knowledge before the procedure helps you make informed decisions. We as a responsible dental entity believe in informing our patients regarding the procedure and ingredients at every step of the procedure. Other isolation and protection tools dentists use are cotton gauze, face bibs, and protective eyewear for protection against UV lights.
Step 4: Application of whitener
As soon as the prep part is over, dentists proceed to the main part of the whitening procedure: the application of the agent or gel. We already mentioned that it is important for you to discuss your shade preference with your dentist. They adjust the percentage of chemicals according to your preference and it also helps determine how many rounds of application you need. Sometimes dentists follow a standard procedure and it may include 2 to 3 rounds of whitener application. Therefore, it differs from patient to patient and dentist to dentist. The whitening solution is applied directly to the tooth and later exposed to activation laser light. This process usually takes two rounds but many dentists also just use a single round of application to get the desired results.
Step 5: Activation of the paste
Activation of the whitener is the next crucial part of the process. The whitener is applied and left to absorb in two intervals lasting for 20 minutes each. A blue LED light is used to activate the whitening agent which helps break down the chemicals and absorb them fully. The entire process takes around 40 minutes to get the desired results. During this phase, the whitener, i.e. hydrogen peroxide, goes deep into the layer of enamel and reaches the dentin. This is also what we call the oxidation process that allows the chemical to reach within the enamel and lightens the tooth pigment from within.
Modern equipment and tools are the reasons why dentistry today is fast and fuss-free. In the past, the whitening procedure was longer because everything was done manually whereas today there are many modern techniques available. Along with LED lights, there are other types of activation lights available also such as halogen lights and UV lights.
Step 6: Fluoride application (optional)
After the whitening treatment, dentists often recommend fluoride treatment to protect the enamel from severe tooth sensitivity. When thinking of getting a whitening treatment, you must know that a mild level of sensitivity is completely normal. However, if it persists for more than a week or so, it means there are enamel complications needing medical attention. The risk of severe sensitivity is less but in many cases, it is possible due to poor lifestyle choices such as smoking or too much alcohol consumption. To minimize the chances of severe sensitivity, Fluoride treatment is beneficial because it strengthens the enamel. A study on Fluoride treatment after whitening concludes that it is an appropriate dental measure to recover from any enamel irregularities. Although it’s packed with benefits for tooth enamel it is still optional for patients.
Step 7: Post-treatment evaluation and instructions
Now we come to the end of the treatment and this is the post-treatment evaluation stage. This is when the dentist thoroughly evaluates the results and checks if more whitening is needed. This part is all about color adjustment and seeing if there are any problems. The dentist makes sure that all the protective gear is removed and that the patient is comfortable. Another important element is the post-care and dentists guide the patients on how to maximize the effects of their whitening treatment.
Post-treatment care usually involves a home-whitening kit with custom-made trays that includes several dental trays to wear at night. It also includes hydrogen peroxide solution with a low dosage that’s poured inside the trays before putting them on. To maintain and protect the brightness for at least a few months, one must wear these custom trays at night according to the dentist’s instructions. You can find these kits only at the dentist’s clinic and you must always follow the dentist’s instructions on what to do and what to avoid after teeth whitening.
How does teeth whitening work with at-home whitening trays?
While most experts say in-office treatment is the best teeth whitening procedure but there are other whitening options available also. One of them is the at-home whitening procedure and they do not require you to visit a dental clinic. The tricky part of this procedure is how to do it correctly at home without any problems or complications. Although it is fairly easy to perform the teeth whitening procedure at home, however, you might want to be careful while following the instructions. Also, do not confuse these kits with the exclusive custom-made ones available at the dentist’s clinic. These kits are commercially available in supermarkets or drugstores and you do not have to do much except put the solution into the dental trays and wear them at night. Here is a step by step breakdown of how to effectively use whitening trays at home:
STEP 1: Unbox the appliances
The first step is obviously to disassemble the appliances inside the kit. The instructions are simple but we recommend you check with your dentist first to be sure this product is safe for you. If you have never been through any kind of whitening treatment, it is important to be sure you are not allergic to any substances, especially peroxide. Moreover, these home whitening trays are more effective for people with minimum stains or mild extrinsic stains. They do not work on deep or intrinsic stains because the whitening solutions in these kits are not that strong. Home whitening kits usually contain dental trays to wear at night for several days. Most of them come with gels made of different formulas but the majority of them use a low percentage of carbamide or hydrogen peroxide. Similarly, some of them come with moldable trays, and others with one-size-fits-all trays.
STEP 2: Brush with Fluoride-free toothpaste
This step is important because, without it, you may not achieve desired results from home whitening trays. Brushing your teeth before the treatment is important for the product to absorb better into the enamel. However, make sure that your toothpaste is Fluoride-free because Fluoride delays the absorption of carbamide or hydrogen peroxide. Therefore, it is ideal to look for an over-the-counter Fluoride-free toothpaste, or better yet you could ask your dentist for more suggestions it is a lot safer to ask your dentist before trying home whitening trays.
STEP 3: Use the tray
The common ingredient in over-the-counter products is usually carbamide peroxide and the most normal dosage is 35%. Up to 35% of carbamide peroxide is safe and legal to use in commercial products. Whereas, the concentrations of hydrogen peroxide in such products should not exceed 10% since it is a stronger chemical.
The box also contains a dispenser syringe and the user can easily put the whitening solution inside the tray through it without touching it. Before putting the tray inside, be sure to check if the tray is moldable. This way the user gets trays matching their teeth and they do not have to be afraid of the solution touching their gums or spilling into their mouth.
The procedure is the same for both kinds of trays. All you have to do is inject the solution inside the tray, not more than a teardrop. Spread it with the help of the tip of the syringe until the area of the first 10 teeth. upper and lower are covered. Wear the trays, both lower and upper, and leave them in for at least 6 to 7 hours. Most whitening kits instruct the user to use the trays overnight for the best results.
Whitening Strips procedure
The American Dental Association recognizes over-the-counter whitening strips as one of the whitening methods. There is a very low percentage of carbamide or hydrogen peroxide in these strips. For example, some whitening strip kits only contain strips whereas some also include an activation light to lock the gel.
STEP 1: Brush and Floss
Before placing the whitening strips on your teeth, make sure they are clean. Ideally, brush with Fluoride-free toothpaste so that the gel absorbs more quickly into the enamel. Also, make sure to floss before the treatment to remove debris stuck between teeth. Both these oral health measures are necessary because they can allow the treatment to work faster and more effectively.
STEP 2: Remove the protector
The second step while using whitening strips is to remove the stick-on protector placed on the strip. Once the stick-on is removed, carefully place the strip on the front part of your teeth. Usually, strips are made for the first ten teeth, upper and lower. Similarly, the waiting time also differs from brand to brand. The average waiting time varies from 5 minutes to 45 minutes. Most brands, however, ask to keep them on for 30 minutes. It also depends on the percentage of the bleaching agent in them. The higher the percentage, the shorter the time is to avoid side effects such as enamel erosion, while the lower the percentage, the longer the waiting time.
STEP 3: Place on front teeth
Once you remove the strip, immediately place it on the front teeth by following the given pattern. Make sure the gel does not touch your gums or any other part of the mouth. Therefore, we recommend practicing great caution while using strips. Many strip kits also offer blue LED light to lock the gel so that’s an additional step after the placement of the strip. Leave the strip for as long as the product instructions ask you to.
STEP 4: Remove the strip and wash up
Once the designated time is over, remove the strip without any harsh movements. After 10 to 15 minutes, rinse your mouth followed by brushing. Rinsing or brushing will not have any adverse effects on whitening effects.
How to use a teeth whitening pen?
Among the more recent inventions in over-the-counter whitening products is a teeth whitening pen. Many brands are offering this product and are available in most drugstores and supermarkets. Like the other products, this one also contains low concentrations of Hydrogen peroxide or carbamide peroxide. However, it is much more convenient in terms of application because it comes in the shape of a pen. Most whitening pens in the market contain a twistable back to bring as much bleach as you want on top of the pen.
STEP 1: Start with brushing your teeth
The first and foremost thing one must do before using a whitening pen is to brush and floss. All whitening treatments require this because the bleach absorbs better and faster this way. When you are about to use a whitening pen, brush your teeth with a soft-bristled brush and non-fluoride toothpaste. Wait for 5 minutes and then proceed to use the pen.
STEP 2: Twist the back
After brushing, take the brush out of the packaging and twist its back end until the gel comes out. Usually twisting it two times brings out enough whitening gel to use for one time. Make sure your teeth are completely dry before putting on the gel.
STEP 3: Apply on the front teeth
Once enough gel comes out on top of the pen, start applying it to the front teeth only gently in circular motions. Be gentle because you do not want to spill the gel anywhere in your mouth. Also, make sure that the entire tooth is covered with it along with the spaces between the teeth.
STEP 4: Let it rest and don’t rinse
Finally, after the application, leave the whitening gel on and do not rinse. With whitening pens, there is no need to brush or rinse after the application. Ideally, the gel should be left on for a couple of hours for it to show visible results. Moreover, they are known to only work on light yellow stains rather than brown or gray tones.
How to prepare for teeth whitening?
The preparation for dental office teeth whitening involves the use of various protective tools. Since dental professionals use bleaching agents in this process, your gums and other parts of the mouth need protection. Among the protective gear are cheek retractors, gauzes, liquid dams, etc. to make sure the bleaching substances do not touch any part of the mouth. For other types of whitening treatments, the only prep you may need is to brush and floss thoroughly before the procedure. Brushing and flossing before the procedure allow the substances to absorb better and faster. People with sensitive teeth can brush with fluoride toothpaste and a soft-bristled brush to prep for their whitening treatment. They should use products with low concentrations of hydrogen peroxide.
Things you should ask before teeth whitening procedure
The best way to avoid regrets after a dental procedure is to have a detailed discussion with your dentist before the procedure. The key is to share your expectations with the dentist beforehand so there is no miscommunication between the two of you. Two main factors to consider before the whitening procedure are the shade of white you want or one suitable for you and the number of teeth you want to whiten. Another factor to keep in mind is if you have any dental restorations such as veneers, implants, or crowns. If you already have any one of them whitening may not work the way you want it to. That’s because there is a possibility of color difference between original teeth and restored teeth. The best way to find out about your possibilities is to ask your nearest dentist.
What if someone already has sensitive teeth before whitening
If someone already has sensitive teeth before whitening, discuss the situation with the dentist beforehand. Dentists usually ask such patients to use toothpaste for sensitivity before coming in for the office whitening treatment. Make sure to not have too hot or too cold foods or drinks after the treatment so the treatment does not add more to your problems. The dentist also might do a bleaching test on a tooth to check how the tooth reacts before the treatment. The bottom line is that the dentist must be sure if whitening would work on the patient before performing the procedure.
REFERENCES:
https://www.animated-teeth.com/dentist_laser_whitening/a2_power_bleaching.htm
https://www.ypo.education/dental/teeth-whitening-t469/video/
Professional Take Home Whitening Kit vs. Commercial Whitening